This page contains information about the KryoFlux controller board produced by KryoFlux Products & Services Limited.
KryoFlux and Software Preservation Society (SPS) provide all necessary information for the usage of the board with different platform (Amiga, PC, Atari, etc.).
If you are a developers that want to write programs around the Kryoflux board you you look at my kryoflux project. There you will find here several technical documentations and programs / libraries that I have written based on SPS and KryoFlux documents and sources.
This is related to the subject of Atari FD protection and to preservation. For more generic information on this subject please refer to my Atari Floppy Disk Preservation page. You may also want to go to my Kryoflux Projects Page for software development I have made.
My experience with the KryoFlux board
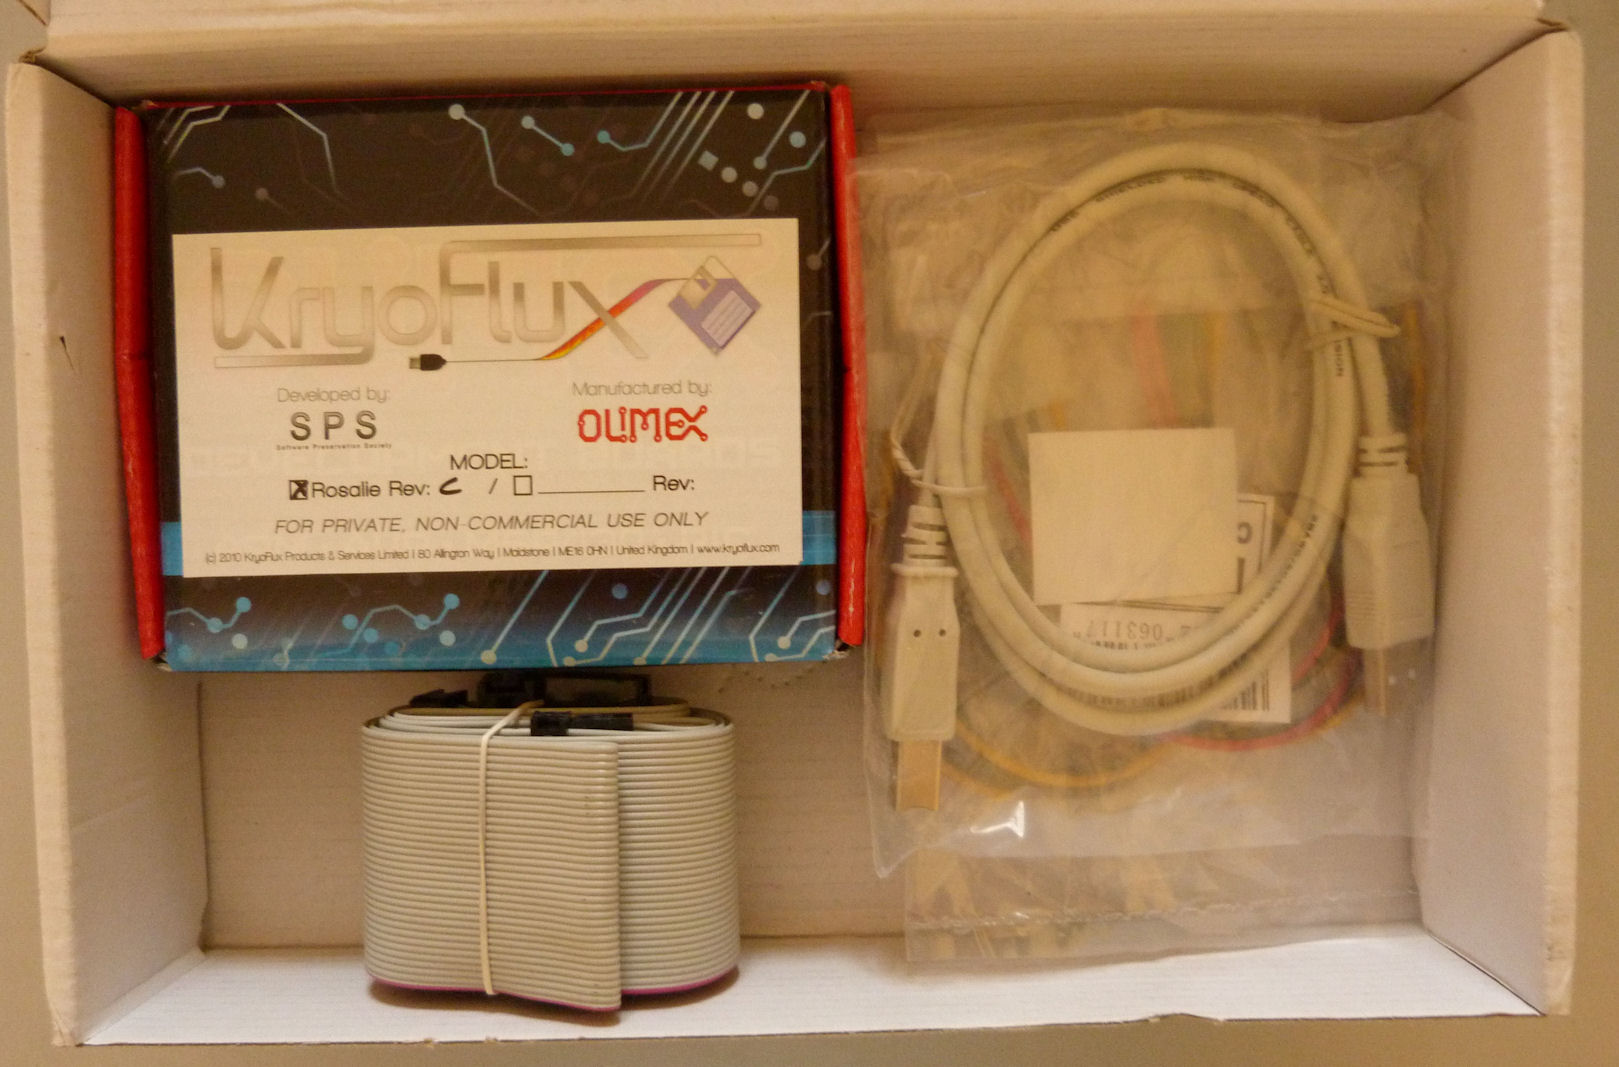
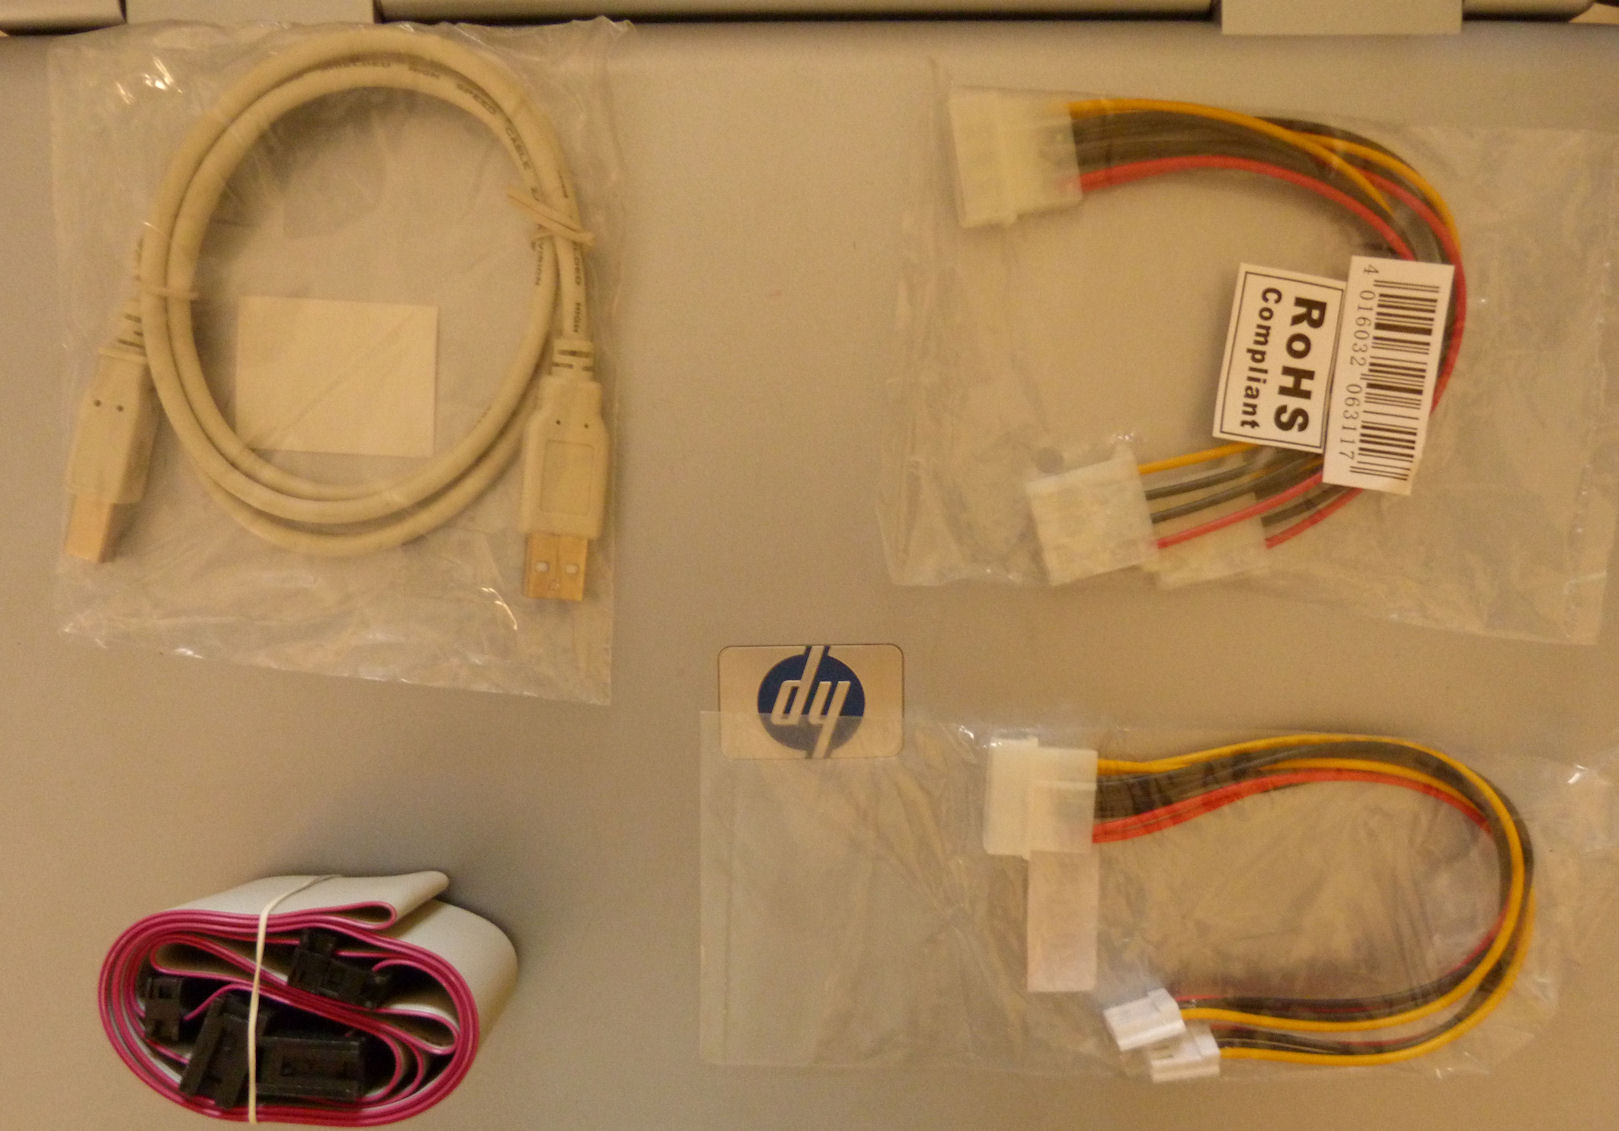
You can buy the KryoFlux board from their webstore. My experience in buying the board was excellent: after placing the order the product was shipped the next day and was delivered to me the next open day. I have ordered the KryoFlux Personal Edition Advanced that comes with the board plus 4 cables. Actually if you already have all the required cables the Basic Edition is fine. The Premium Edition (not available when I bought the system) provides a Power Supply that delivers +5V/+12V to power the floppy drive.
Getting the board up and running was quick and easy following the QuickStart Guide provided. I have tested the host drivers on Windows XP SP3 and Windows 7 X64 SP1 and I did not experienced any problem during installation. I was able to do my first imaging of an Atari FD using the DTC program immediately after the driver installation. Note that in order to use the DCT GUI you need to have the java virtual machine installed.
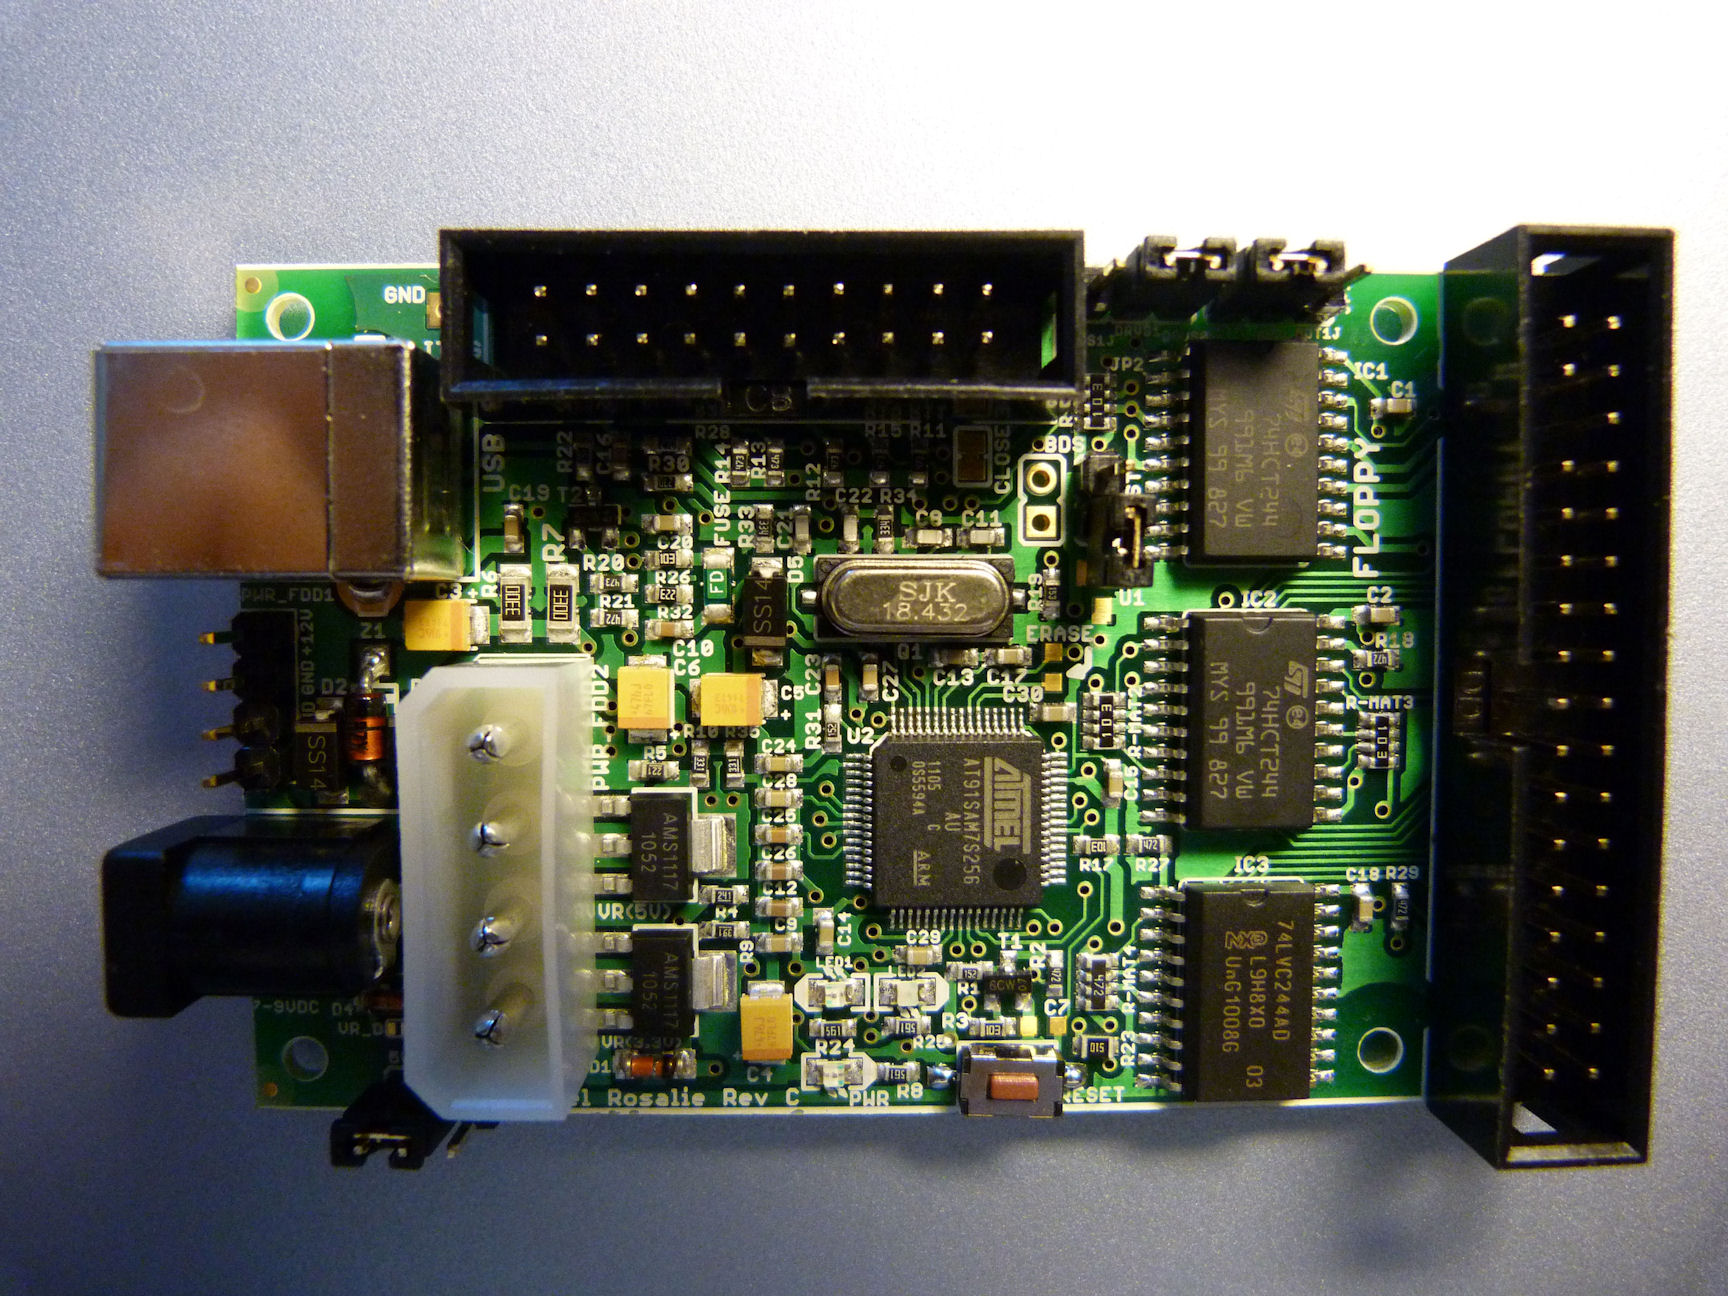
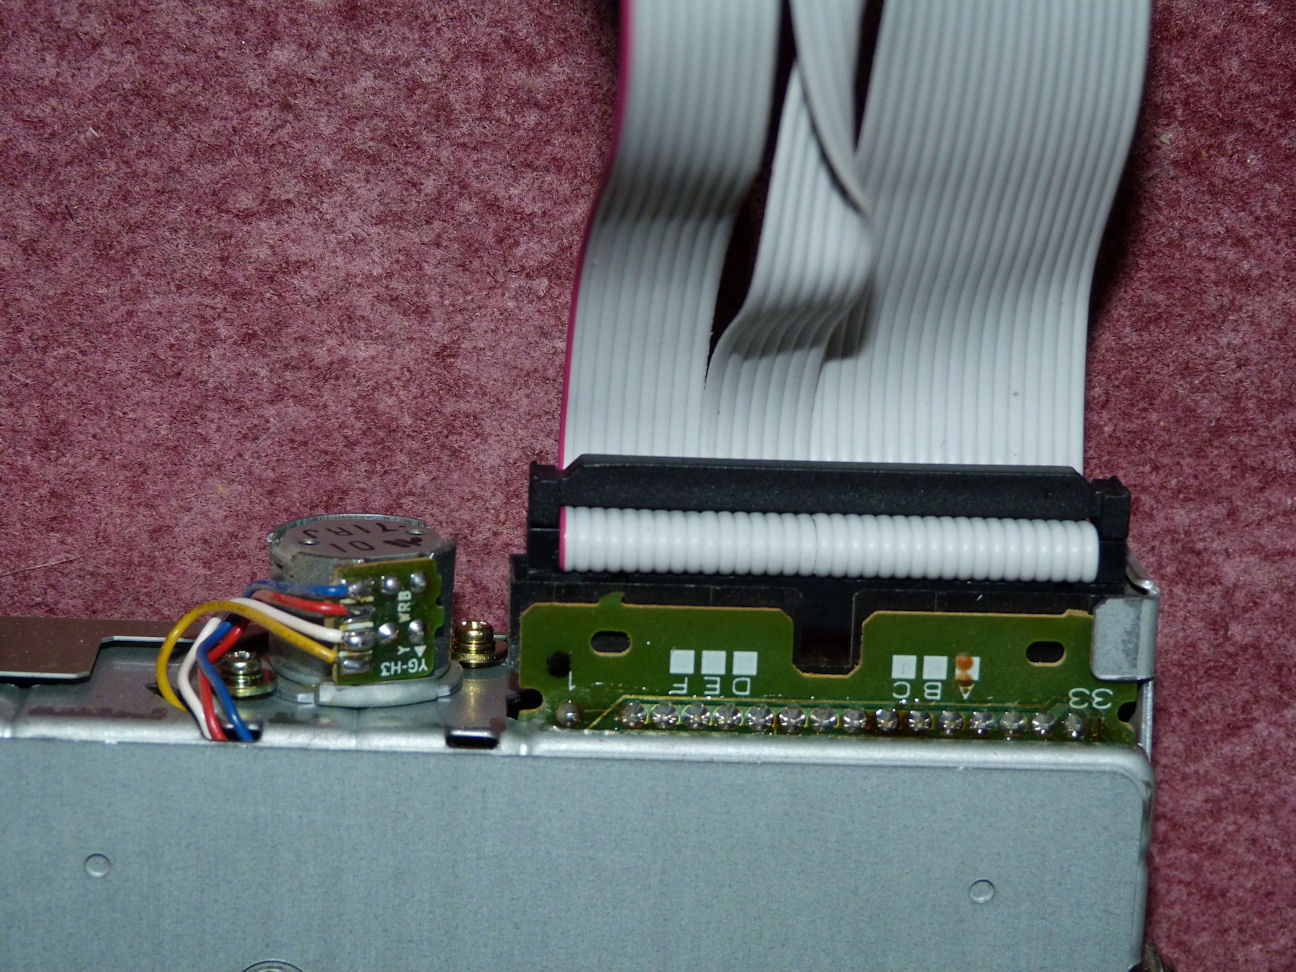
Just one caveat on installation: you have to be very careful when connecting the floppy disk data cable. Often this kind of cable uses keyed connectors, but this is not the case with the cable provided. So look for the marked wire (usually red) that indicates pin 1 of the connector. You have to make sure that this pin is connected to pin 1 on the floppy drives connector (pin numbers are usually indicated on the printed circuit board - see pictures).
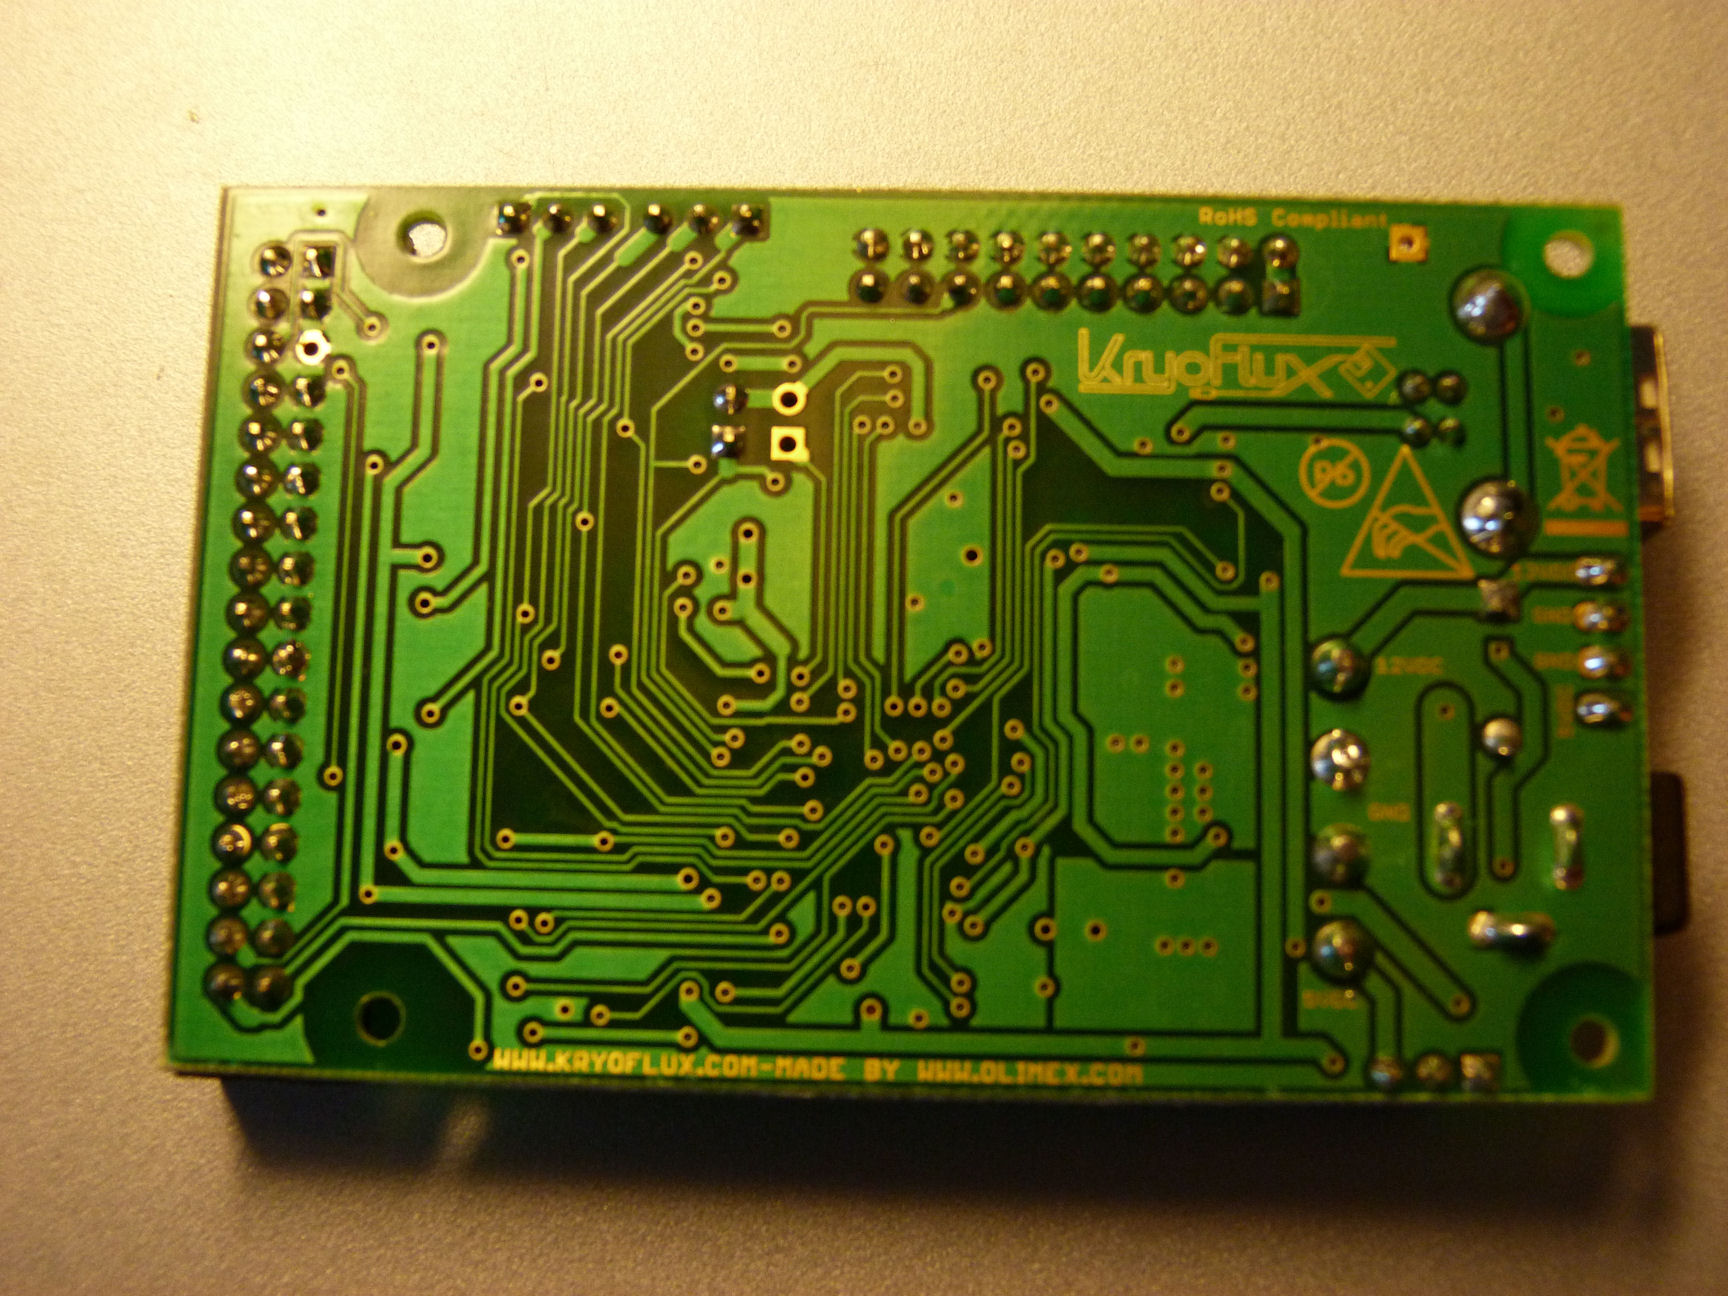
I also want to mention that from all recent projects that I have seen developped around the Atari this is one the most professionally design board with a very clean and compact footprint.
Here are some pictures (click on any picture for an enlarged version):

References
- I have made several Software development around the Kryoflux hardware. You can find information abouts these projects / programs in my "Kryoflux Projects Page".
- There is a nice presentation of the Kryoflux boad on youtube.
- I also found a nice Web site that talked about the Kryoflux project: Part1, Part2, Part3, Part4, Part5, Part6